Tensioning a flex face takes some feel. The cabinet shape, clip spacing, and face material overage all affect how evenly the face pulls across the frame.
Start with enough material, space the clips correctly, tension evenly, and check the face before installing the trim.
Plan the Right Face Material Overage
Before the face is produced, make sure there is enough material around the perimeter to wrap the clip bars.
ESP provides the required overage amounts on its website and with each order. If you are unsure how much overage is needed for a specific project, reach out before the face is made.
It also helps to add corner marks in the artwork. Those marks make it easier to position the face during layout and help keep the graphic from shifting too far in one direction during tensioning.
Start With Flex Clip Spacing
As a general starting point, ESP typically recommends spacing flex clips about 6” to 10” on center.
That spacing can change depending on the cabinet shape. Circles, tight shapes, and tighter curves may need closer clip spacing to help the face tension properly and avoid wrinkles.
For especially tight areas, the bars and clip components can also be cut down if needed. Most standard applications will not require this, but it gives fabricators another option when the shape is more demanding.
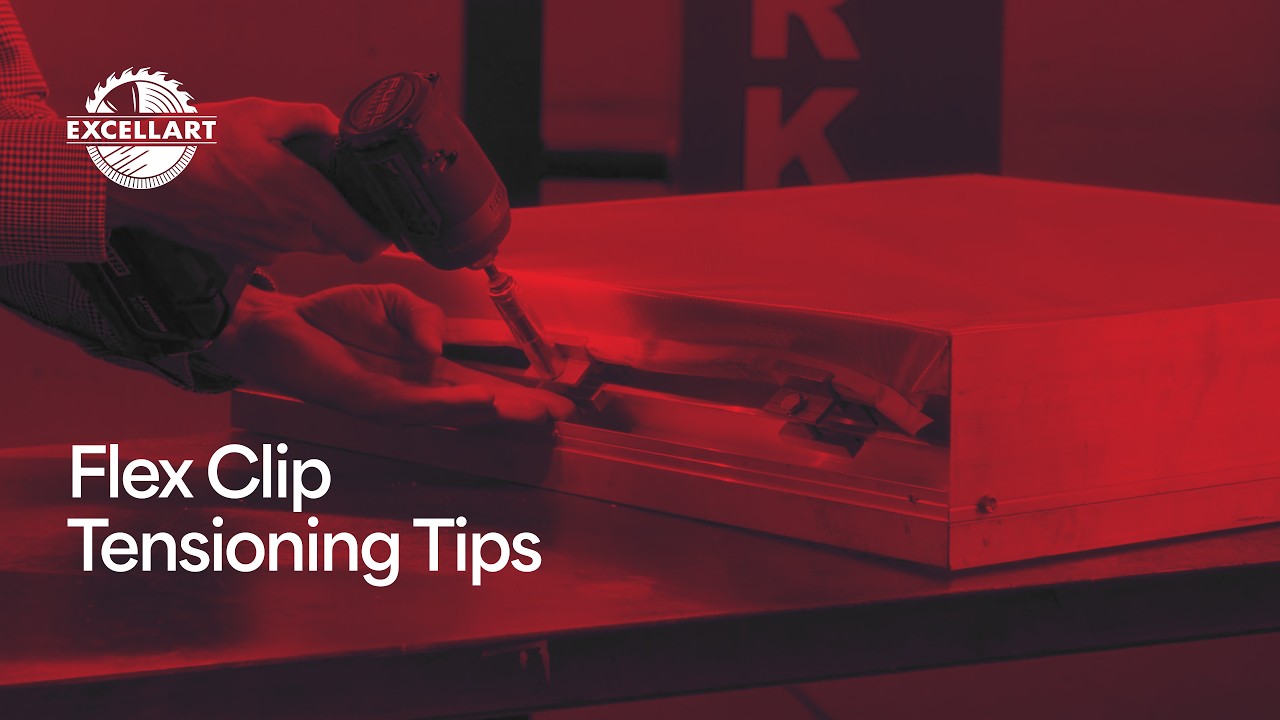
Install the Flex Clips
To install the clips, place the bar inside the face material and roll the material around it.
From there, compress the face slightly and point the clip opening toward the face. Start the clip in a thin spot where the bar is not located, rather than trying to slide it directly over the bar. Once the clip is started in the open material, slide it across onto the wrapped bar.
Once the clip is on, the bar locks onto the face material.
As you add clips, watch the material between them. If the face starts bunching along the clip line, pull the material slightly so it sits freely and is not being tensioned unevenly between clips.
Before tightening, make sure the wing of the clip overhangs the frame piece.
Watch the tutorial here: Flex Clip System walkthrough.
Tighten and Adjust the Face
Once the clip is positioned, tighten it with a 7/16” or 11mm socket and driver.
One advantage of the ESP Flex Clip System is that the clips are easy to remove and reposition. If a section needs adjustment, loosen or remove the clip, reposition the face, and retension it as needed without special tools.
Work your way around the sign, adjusting and retensioning until the face pulls evenly across the frame.
Check the Drum Test
A properly tensioned flex face should feel tight and sound like a drum when tapped.
Work around the sign and confirm the face is drum-tight before moving on to the trim. This is the quick final check that the face is pulled cleanly across the frame.
Finish With the Bleed Trim
Once the face is tensioned and passes the drum test, install the bleed trim cover.
Swap to a 5/16” bit and use self-drilling screws to secure the trim. ESP pre-drills the holes along the alignment line, so line up the trim and drive the screws in.
That caps off the face and creates the clean, trimless look the bleed trim is designed for.
Find the Right Sign Cabinet for Your Project
Use the Excellart Kit Finder to answer a few project questions and find the right kit configuration. For project-specific questions, or just to chat contact the Excellart team at (800) 627-9044 or hello@excellart.com.